Club Men: Academy II 3 Ballyclare IV 15 (Forster Cup)

We are currently carrying out a necessary behind-the-scenes upgrade to how images are stored and delivered on The Front Row Union Sports. With over 770,000 images on the site, we are moving our entire image library to a dedicated cloud storage service. This means images will load faster for you, regardless of where you are in the world, and the site will be more reliable overall.

As we are working on three separate versions of images during the offload process, the site cache sometimes struggles to keep up with which version to display and occasionally post grid images or complete galleries may fail to appear. This is a temporary side effect of the migration process — the image exists and is safe, it is simply in the process of being moved to its new home and identified as being there. A refresh of the page will usually bring them back, however, if it does not please contact john@thefrontrowunion.com stating clearly the post address and we will restore it as soon as possible. We apologise for any inconvenience this causes and appreciate your patience.

We expect the bulk of the image migration to be completed by the end of June 2026, with a fully upgraded version of the site ready to launch in August 2026. Once that work is done, the site will be noticeably faster, images will load more reliably, and you will not see any further disruption of this kind. Thank you for your continued support of The Front Row Union Sports.

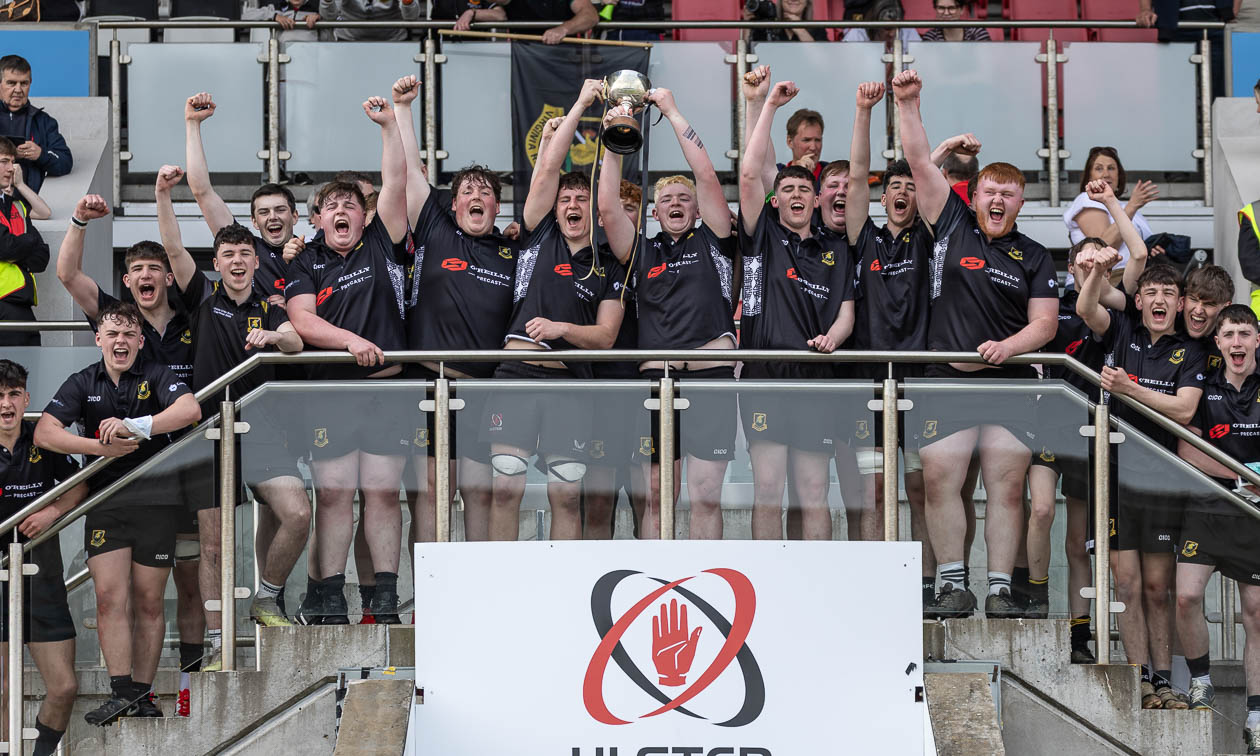
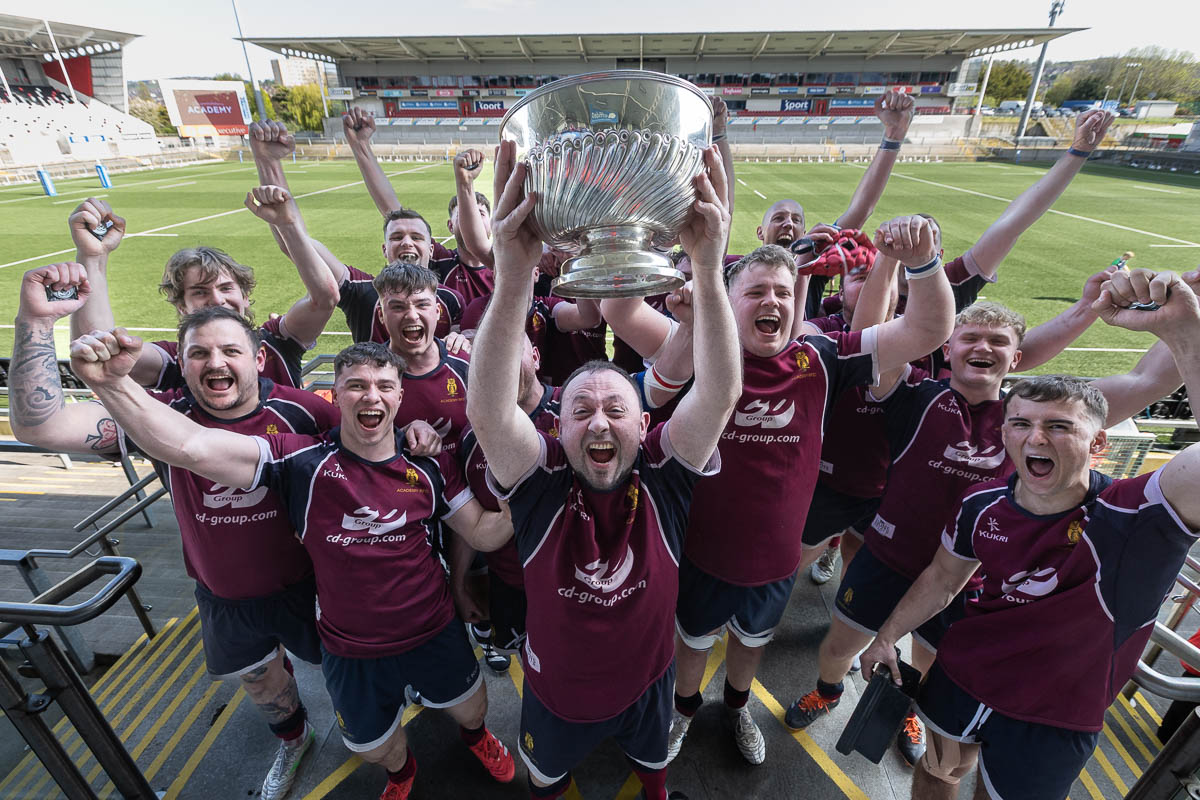
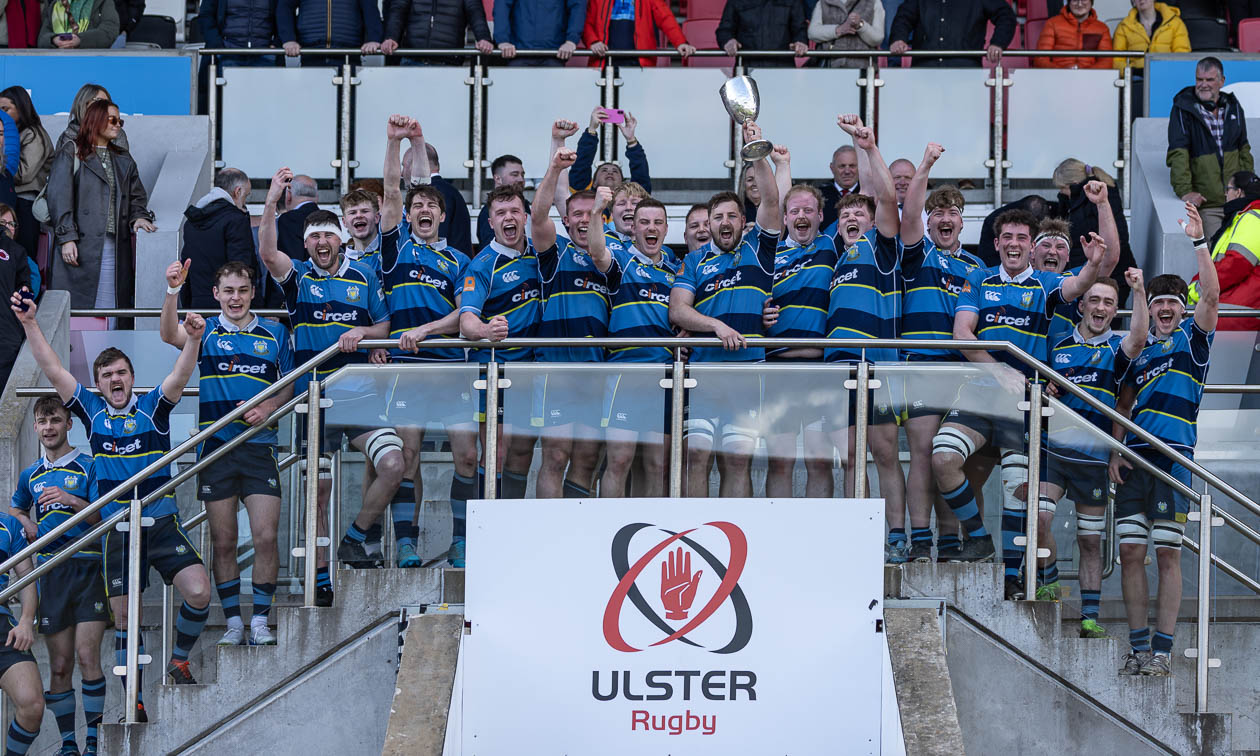
Ballyclare 4th XV won the Forster Cup following a 15 – 3 win against Academy 2nd XV on Saturday afternoon at Ravenhill.

Academy look for an early score against Ballyclare.

Academy opened the scoring with a penalty but Ballyclare bossed the remainder of the first half with two tries, one converted, taking the score to 12 – 3 in Ballyclare’s favour at the break.

Ballyclare celebrate scoring against Academy.

The second half was a bit of a stalemate, the only score coming from a Ballyclare penalty to take the score to 15 – 3 at the whistle.

GALLERY BELOW

[adrotate banner=”7″]

Photo credit – Bob Given Photography and John McMurtry

Corrections

Drop us a note below if there are any corrections required in this article.

← Back

Thank you for your response. ✨